Maker Jim: Abstract Art
I've been on the lookout for some forms that I could use royalty free in my projects. Better yet that I own them. My eye gravitates toward texture and form, as seen in many of my photos. In the summer of 2011 we were at The Exploratorium in San Francisco (the old location). Angela played with an exhibit of ferro magnetic fluid while I watched. I watched, and watched, and saw the very forms I needed form and reform. Snap, snap, snap and another obsession is created.
Iteration 1: Get The Images Into Vector Format
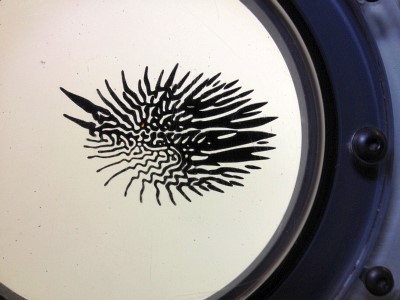
This is one of the original iPhone camera shots of the ferro magnetic fluid under control of Angela. I'm standing over her taking shot after shot.
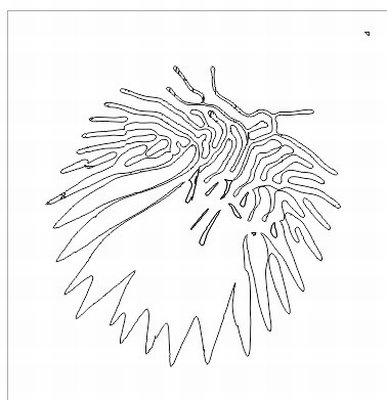
This is another shot after importing to CorelDraw and tracing the image.
I found that a lot of cleanup is needed to get these into a good form to use. There are lots of little loops to deal with. And then I have to make sure that when I cut it out each piece is able to stand on it's own. I went through many, many iterations on each design.
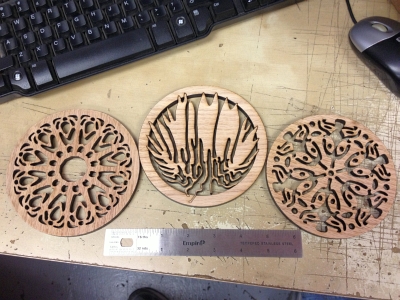
Iteration 2: Cut Some Out
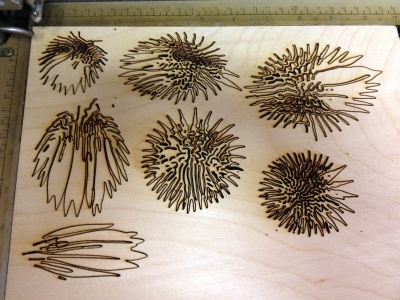
Oh wow! The Epilog Helix laser cutter at TechShop just banged these out.
This is one of my first cuts just to see what each pattern looked like. Then it was back to CorelDraw for some corrections, tweaks, and a bit of artistic license.
You can really burn stuff up with the laser cutter. Getting the right power and speed settings is a bit of a black art - pun intended.
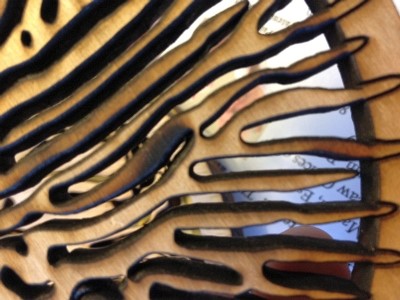
I also have to review each design to see if any members are too thin. Make them thicker and the over design looks less delicate and balanced. Again, lots of work to get it right.
Iteration 3: Wood Inlay Art
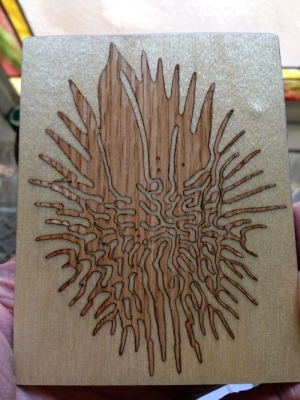
Using the laser cutter I etched a receiver in a blank of Baltic birch plywood. The exact same drawing is used to cut a piece of red oak veneer. The two fit together like hand and glove. Dabbing glue makes it a permanent join. I experimented with several different glues to find the best for me.
Then the thing is sanded with 4 different grits to get it perfectly smooth.
Then several coats of finish, with a sanding between each. Boy did I ruin a number of them trying to get the finish just the way I wanted it.
This is a small test piece.
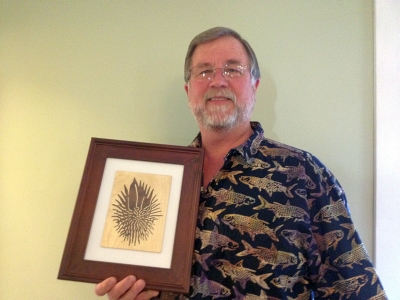
Here's the final product, mounted in a frame (another real pain to get right). This one is black walnut inlay.
You can see a selection of my art for sale in my Etsy store.
Iteration 4: Medallions
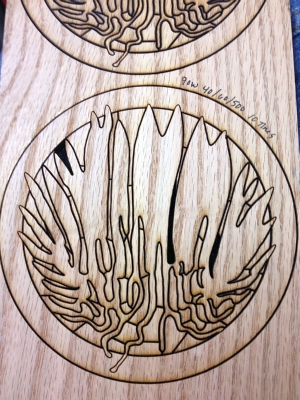
Hmmm. On a lark I added a perimeter circle. It looked really good. It wasn't easy to get the overlaps to work, but once I figured it out I had some fun.
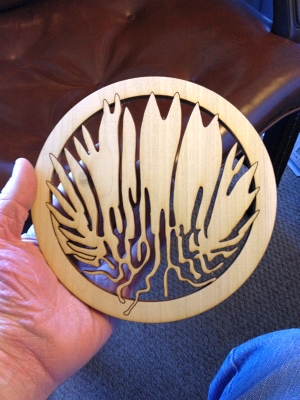
This is a finished medallion. Now it can be put into a round receiver routed into a cabinet front, wall, floor, etc. Once in place it can be left open, like a pie safe door. Or the spaces can be filled with epoxy and sanded flush. The effect is to add a complex wood inlay to your work.
I started to experiment with other designs I made by kaleidoscopic projection.

If three is good, why not 8? This is just a small selection of all the ones I've made - so far, that is.
You can see more at my store.